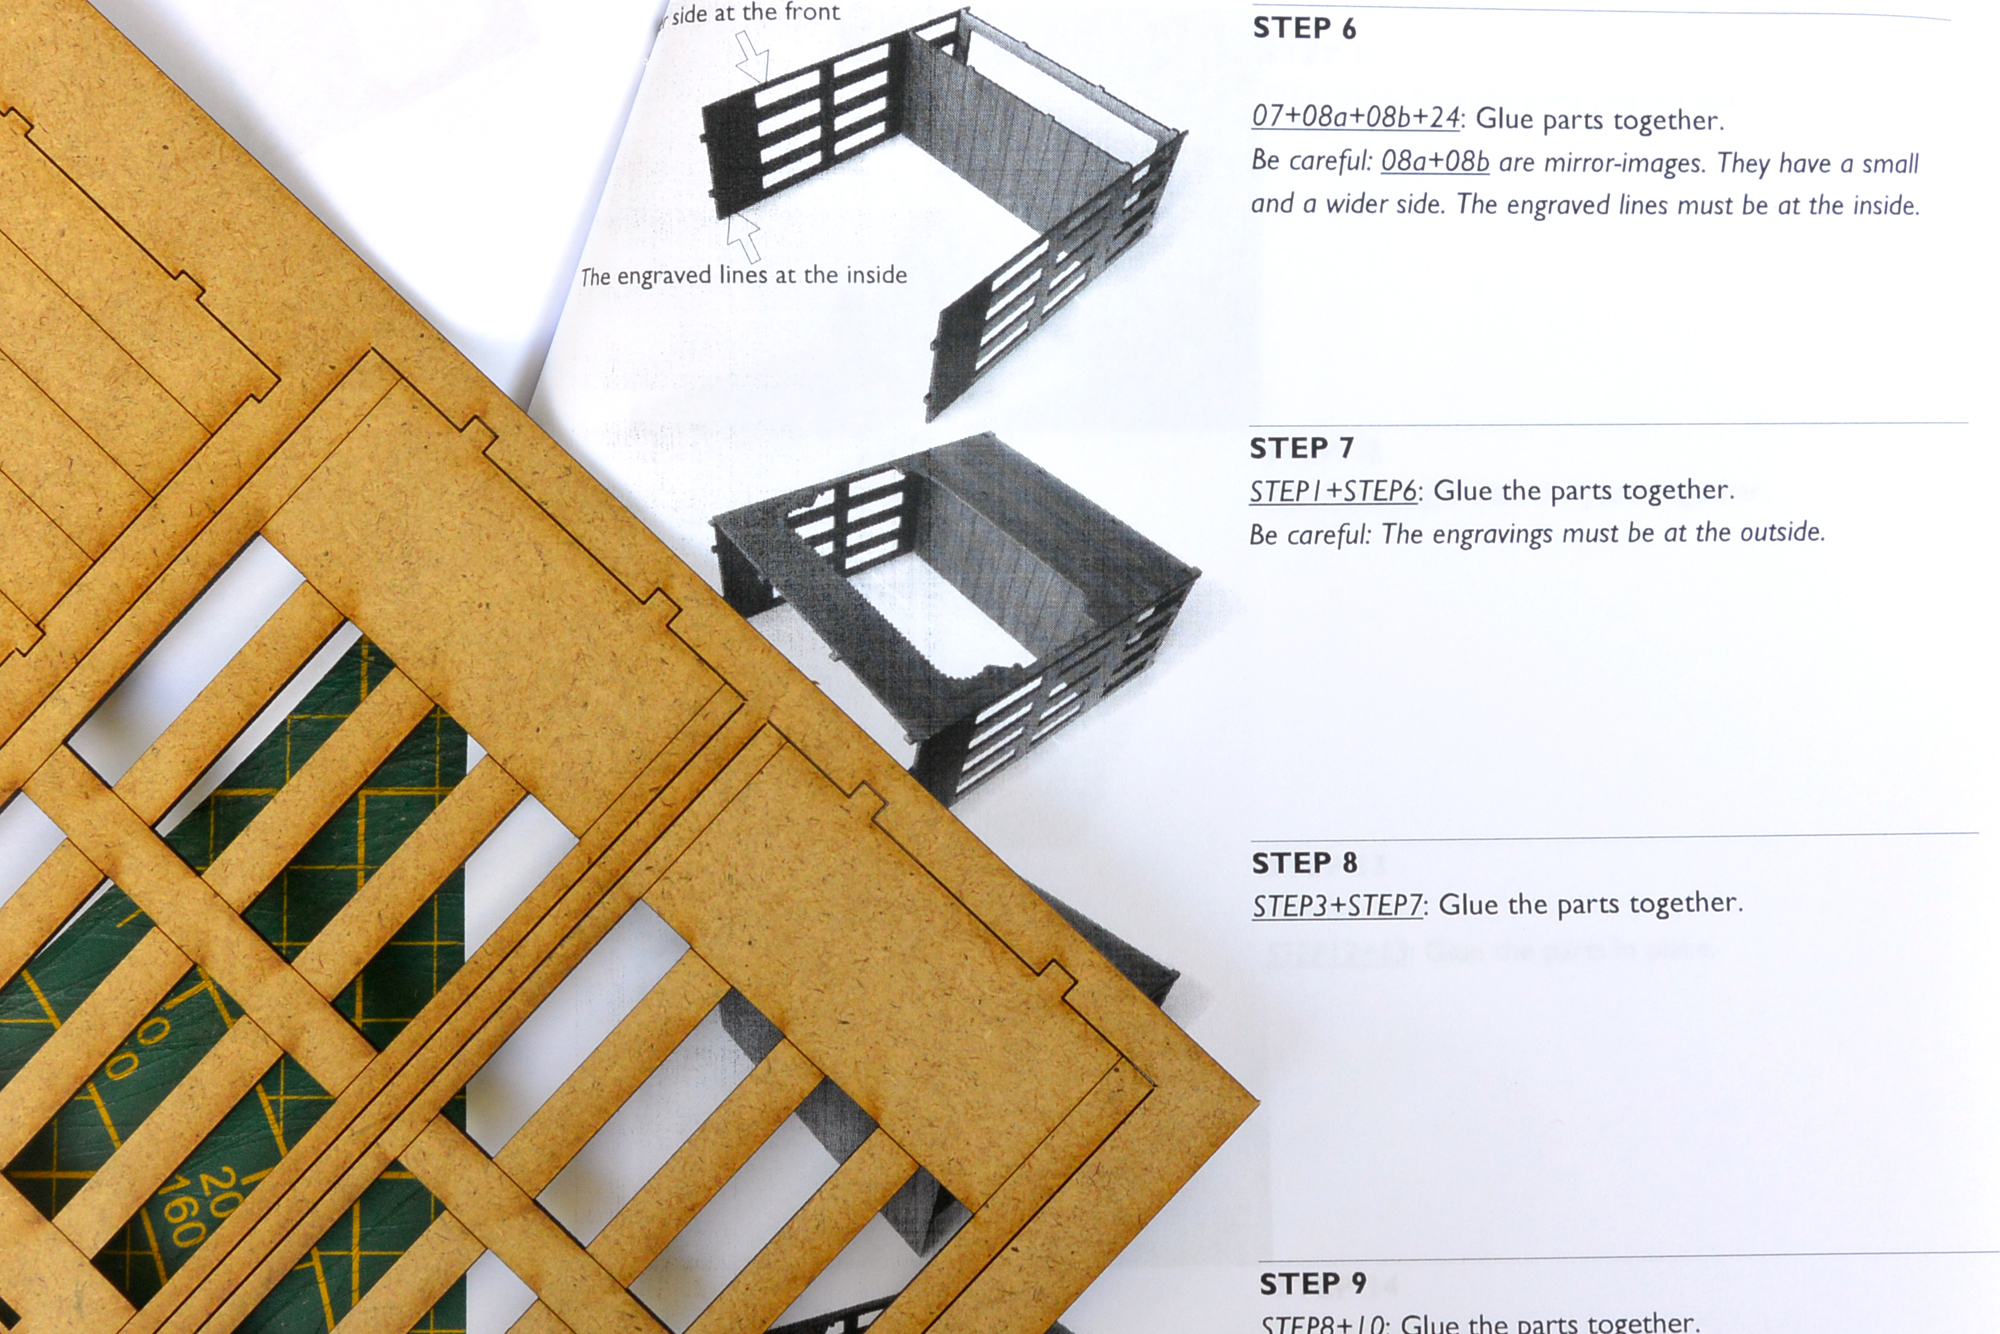
BUILDING INSTRUCTIONS:
Many of my miniatures are DIY kits. I try to keep it as simple as possible by making sure that everything fits together perfectly. Many parts can be clicked together with tabs and holes in each section. Almost all of the kits come with English instructions with pictures.
I recommend you to first put the package together without glue. If everything is correct, you can dismount, possibly paint and then put it together again with (wood)glue.
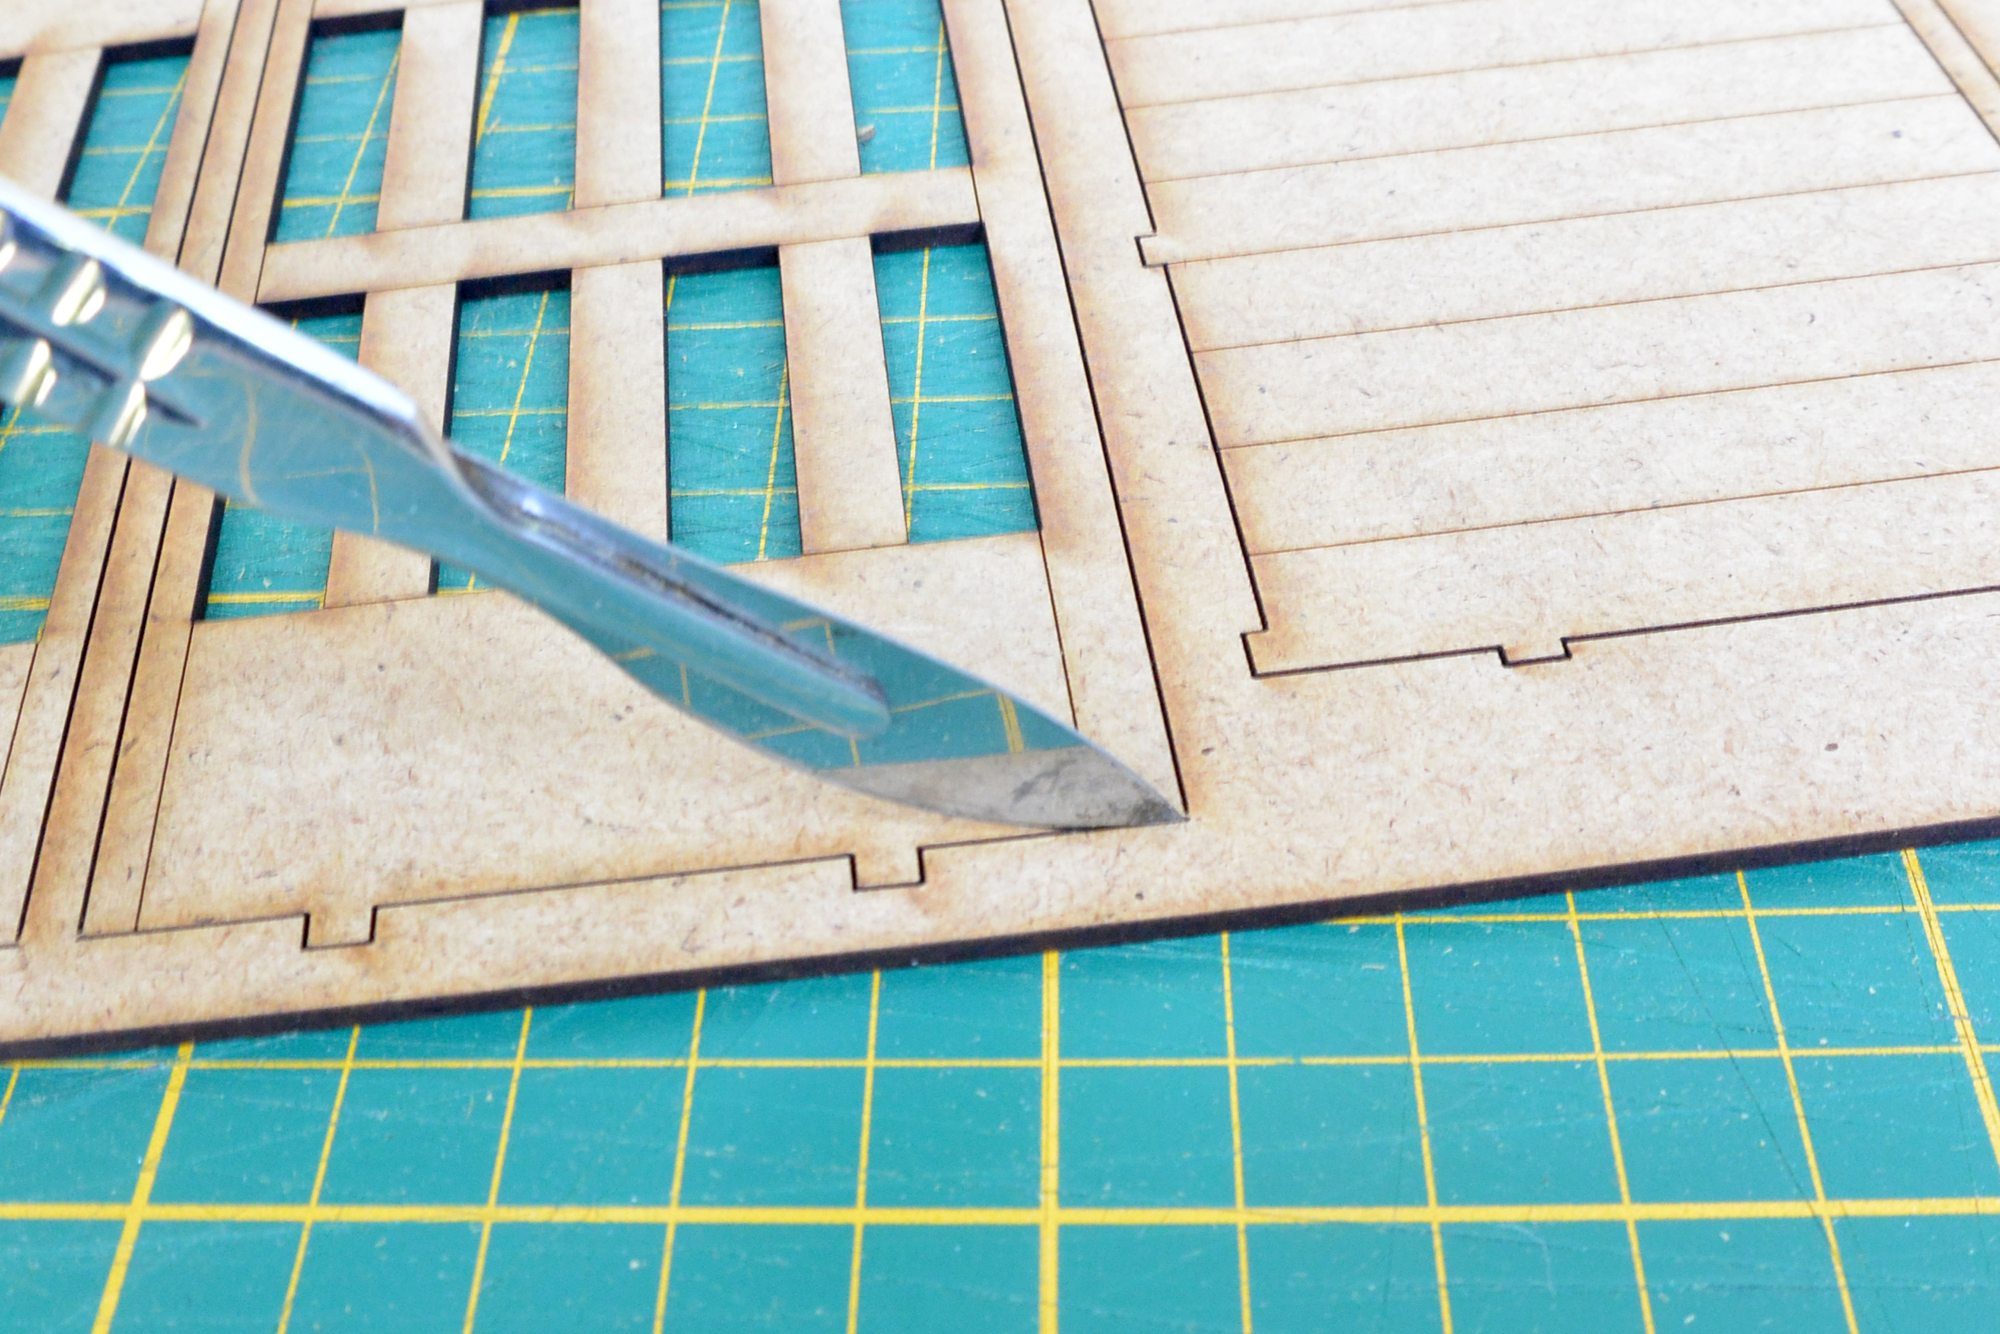
All building parts are attached to panels with some small bridges. The bigger parts you can carefully push out of the panels.
For the smaller parts it is better if you cut them out: Place a sharp knife on the bridges and push down. (So don't cut!) Most of the times you can hear the parts pop loose. This way you are sure you don't break any parts.
PAINTING INSTRUCTIONS:
You will mainly find mdf in the kits.
Note that paints will thicken the material. It might be possible you will need to sand the tabs afer painting to get it fit again.
For light colors you have to use primer before painting.
After painting wait some time before you put the kit together. The paint feels dry but it not totally dry yet, that means the mdf is still a litle bit swollen and the parts fit not as good as they should.
IRON STRUCTURE:
You only need some black acrylic paint. Should you pursue the rusty appearance: Make sure you are not using to much paint. ( you can always apply a second layer.)
WOOD STRUCTURE:
I use a glossy gel-medium as an additive to the acrylic paint. The gel-medium makes the paint transparent and gives it a nice glossy finish.
I always aply 3 layers of paint. More layers of paint makes a nice deep, warm and glossy finish.
Decide which direction the wood grain should have. Only make paint strokes in that direction.
FIRST LAYER: For the first layer of paint I use a rate paint/gel 80% / 20%.
Don't use too much paint. Make only big strokes. Don't try to make a perfect paintjob, this is just the first layer.
-After the first layer it needs sanding.
SECOND LAYER: Use some more gel: paint/gel 50% / 50%.
Again don't use too much paint. Make only big strokes. And don't try to make a perfect paintjob, this is just the second layer.
THIRD LAYER: paint/gel 20% / 80%.
This is the finishing layer. This time do try to make a perfect paintjob!
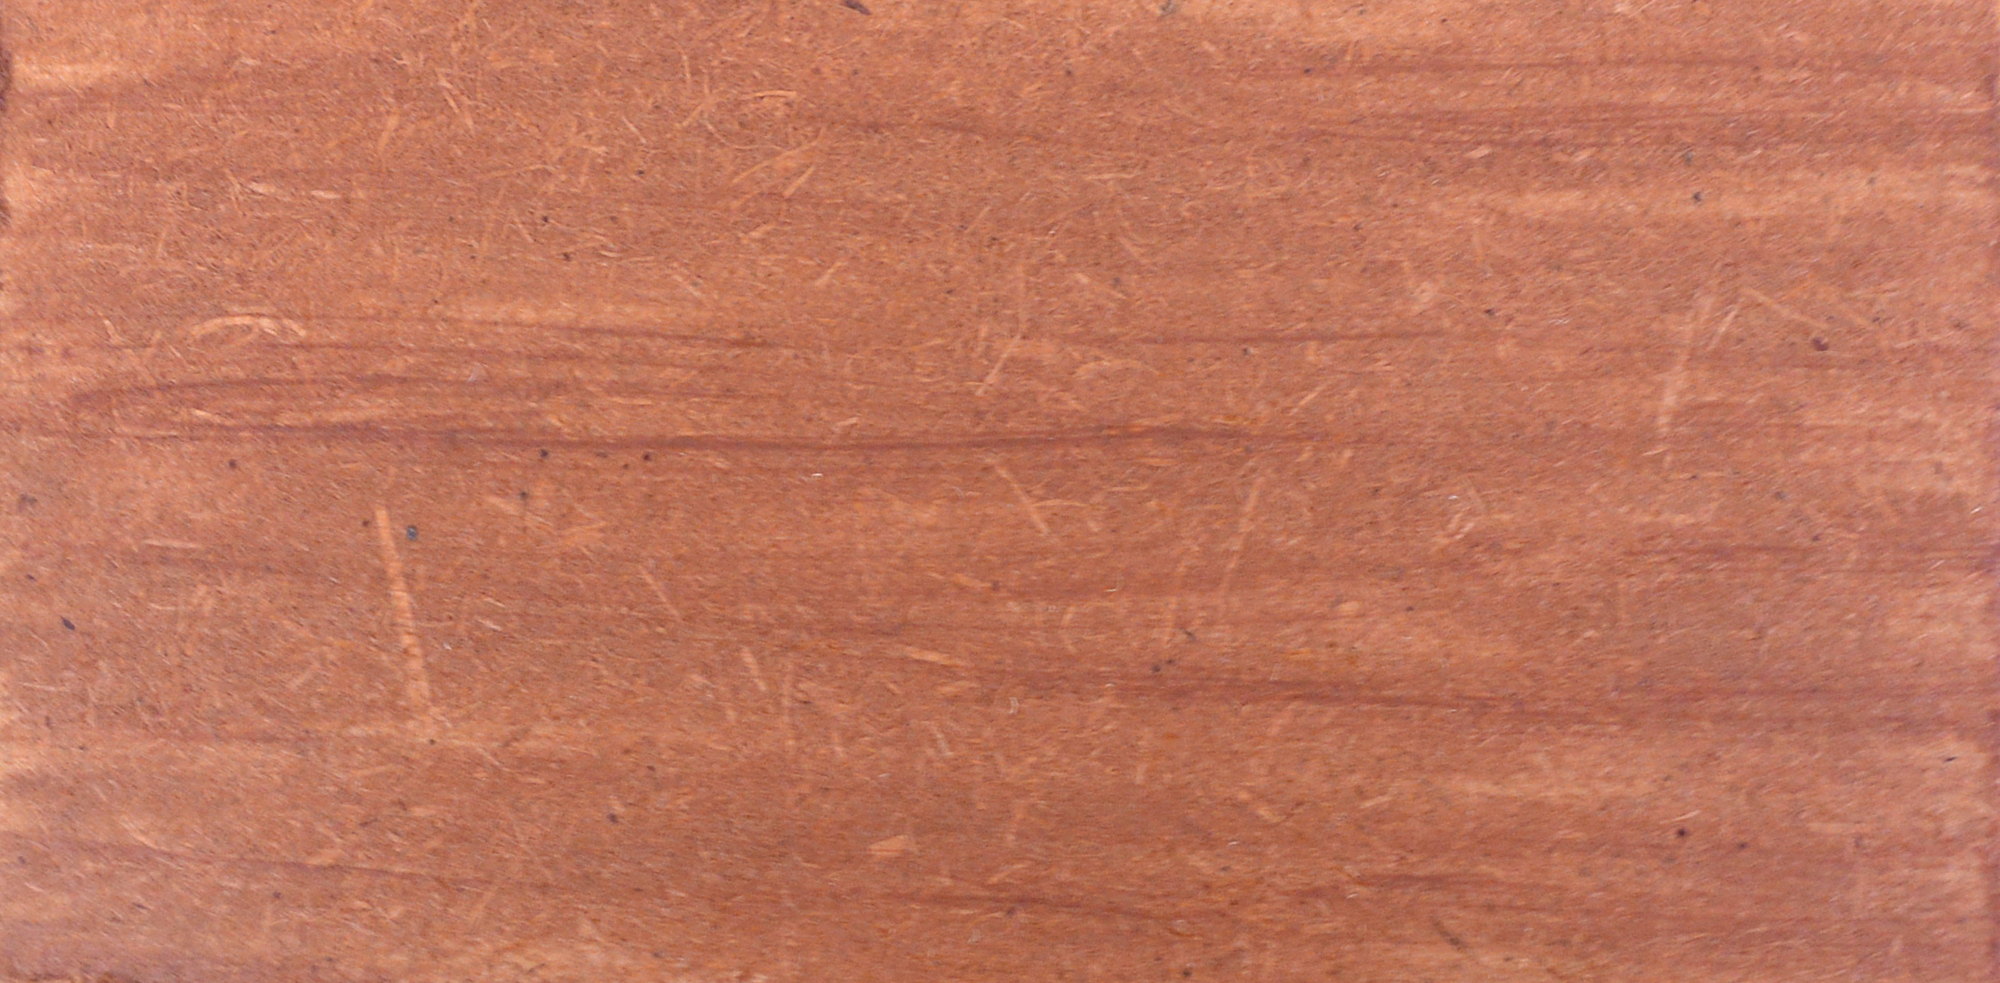
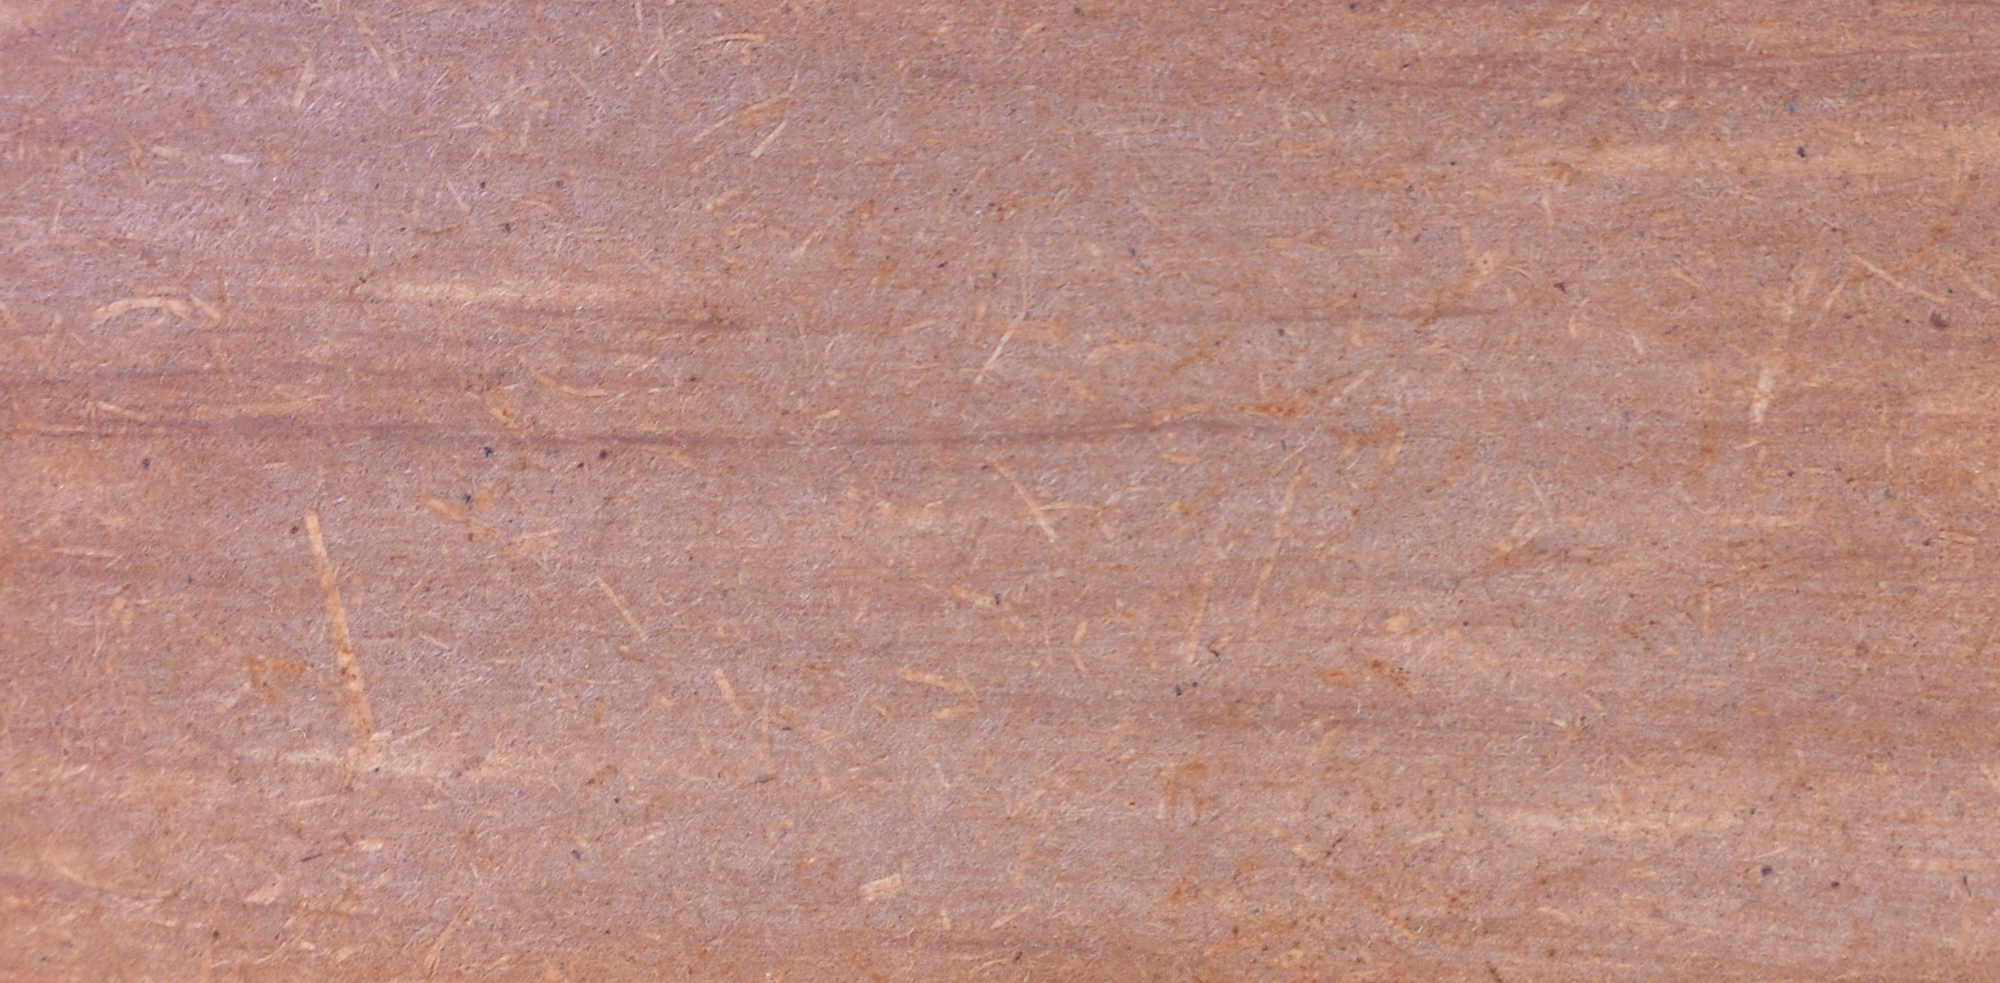
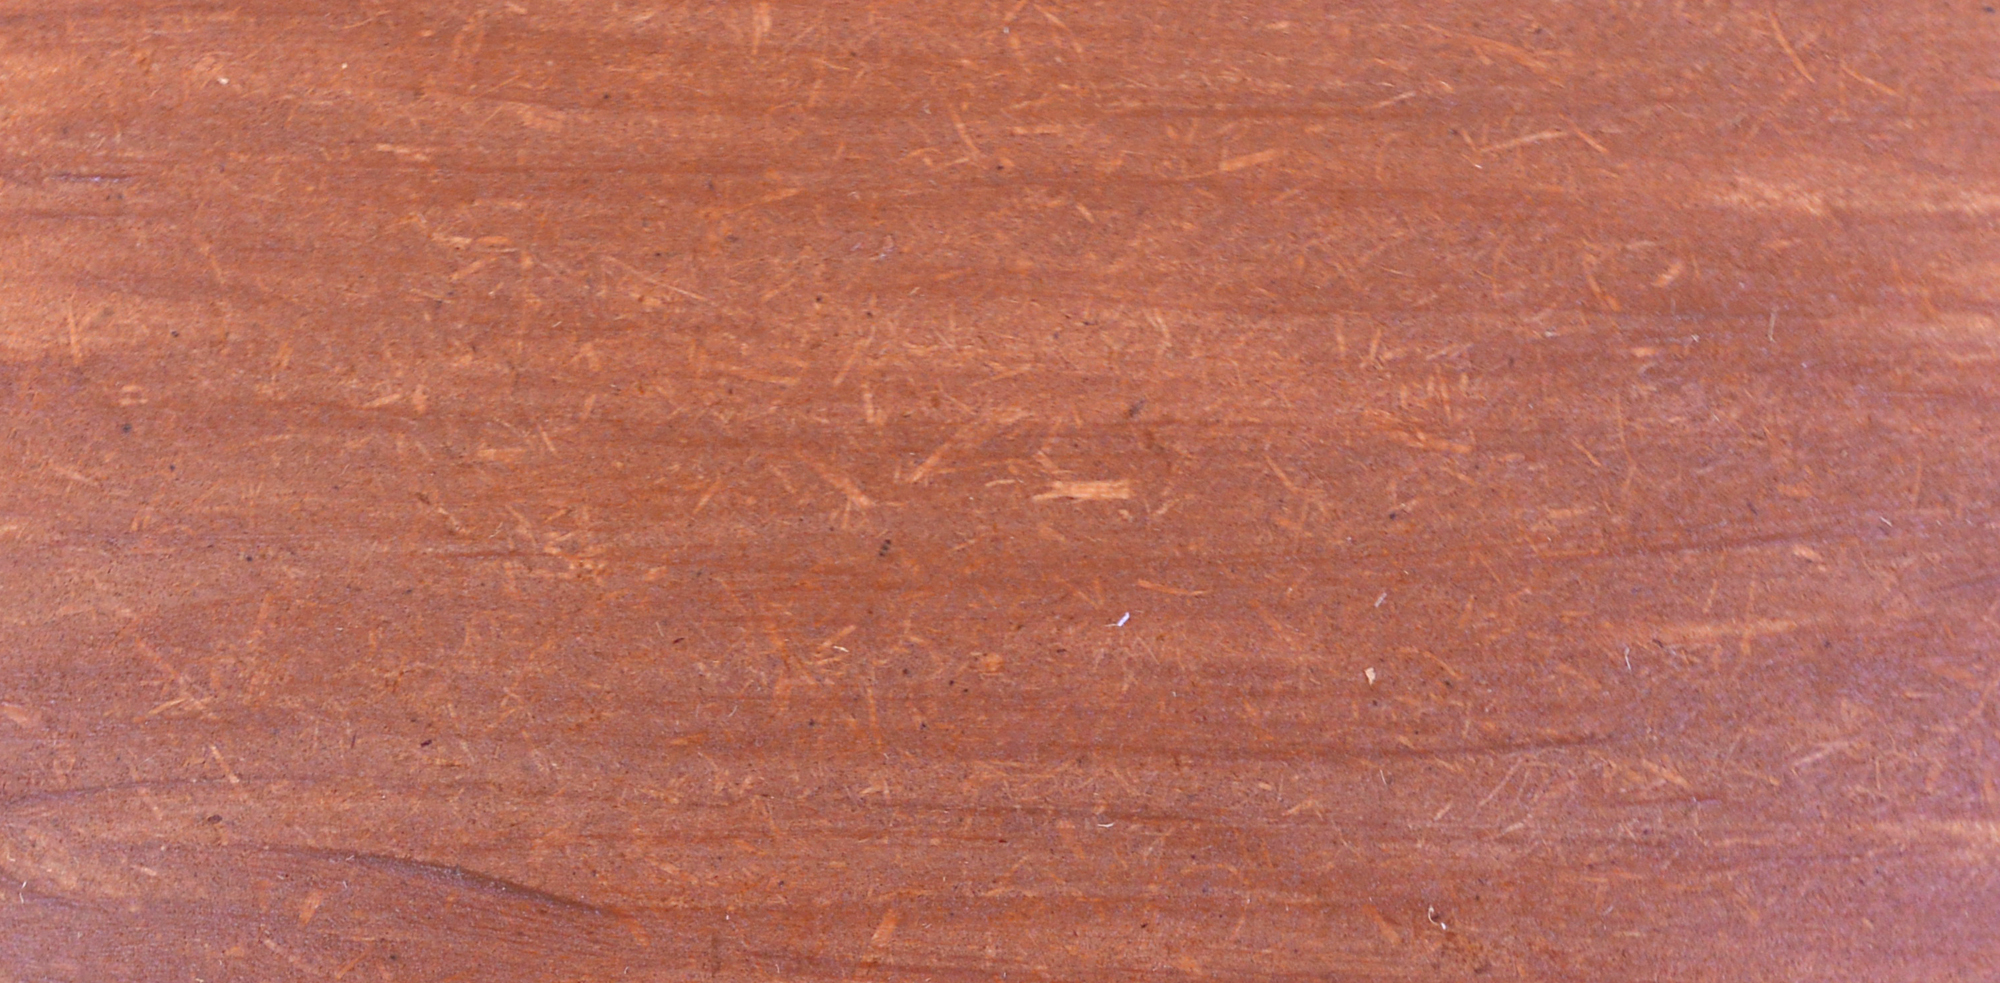
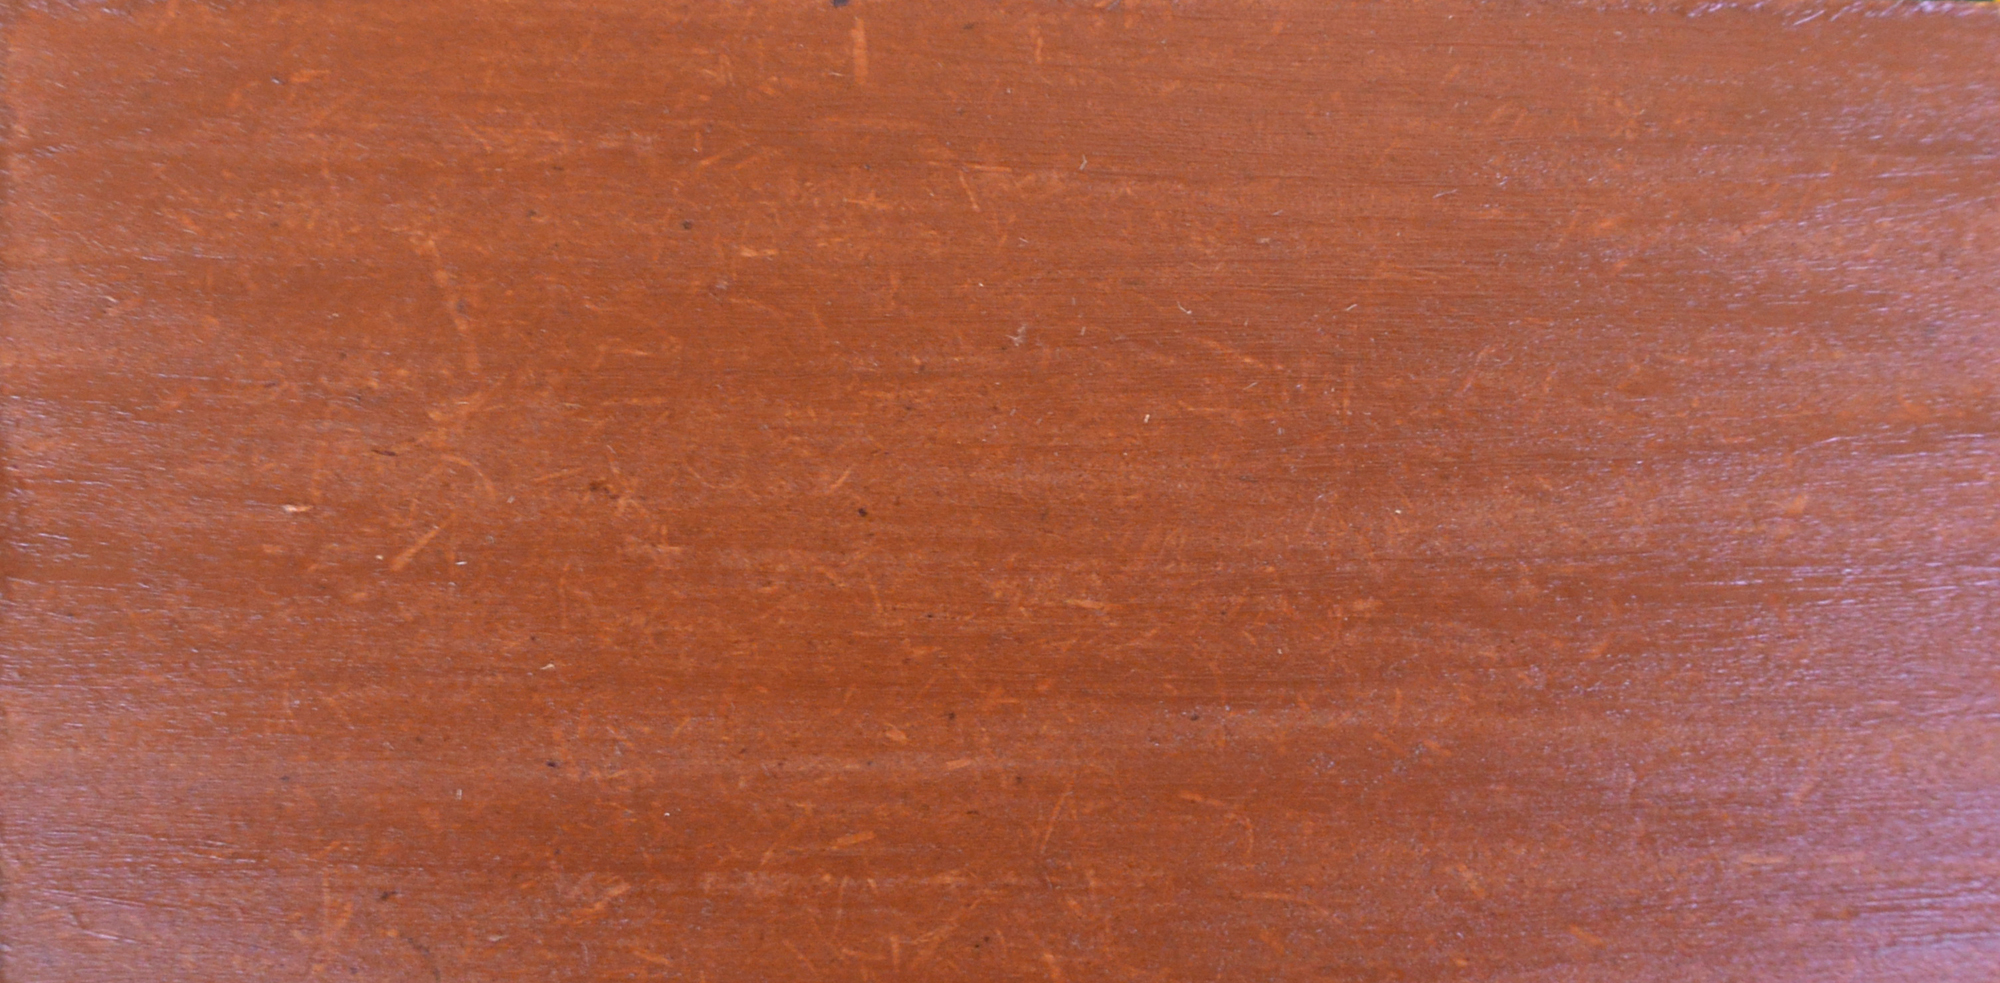
Here you see the different stages of the paintwork: First layer / Sanding / Second layer / Third layer
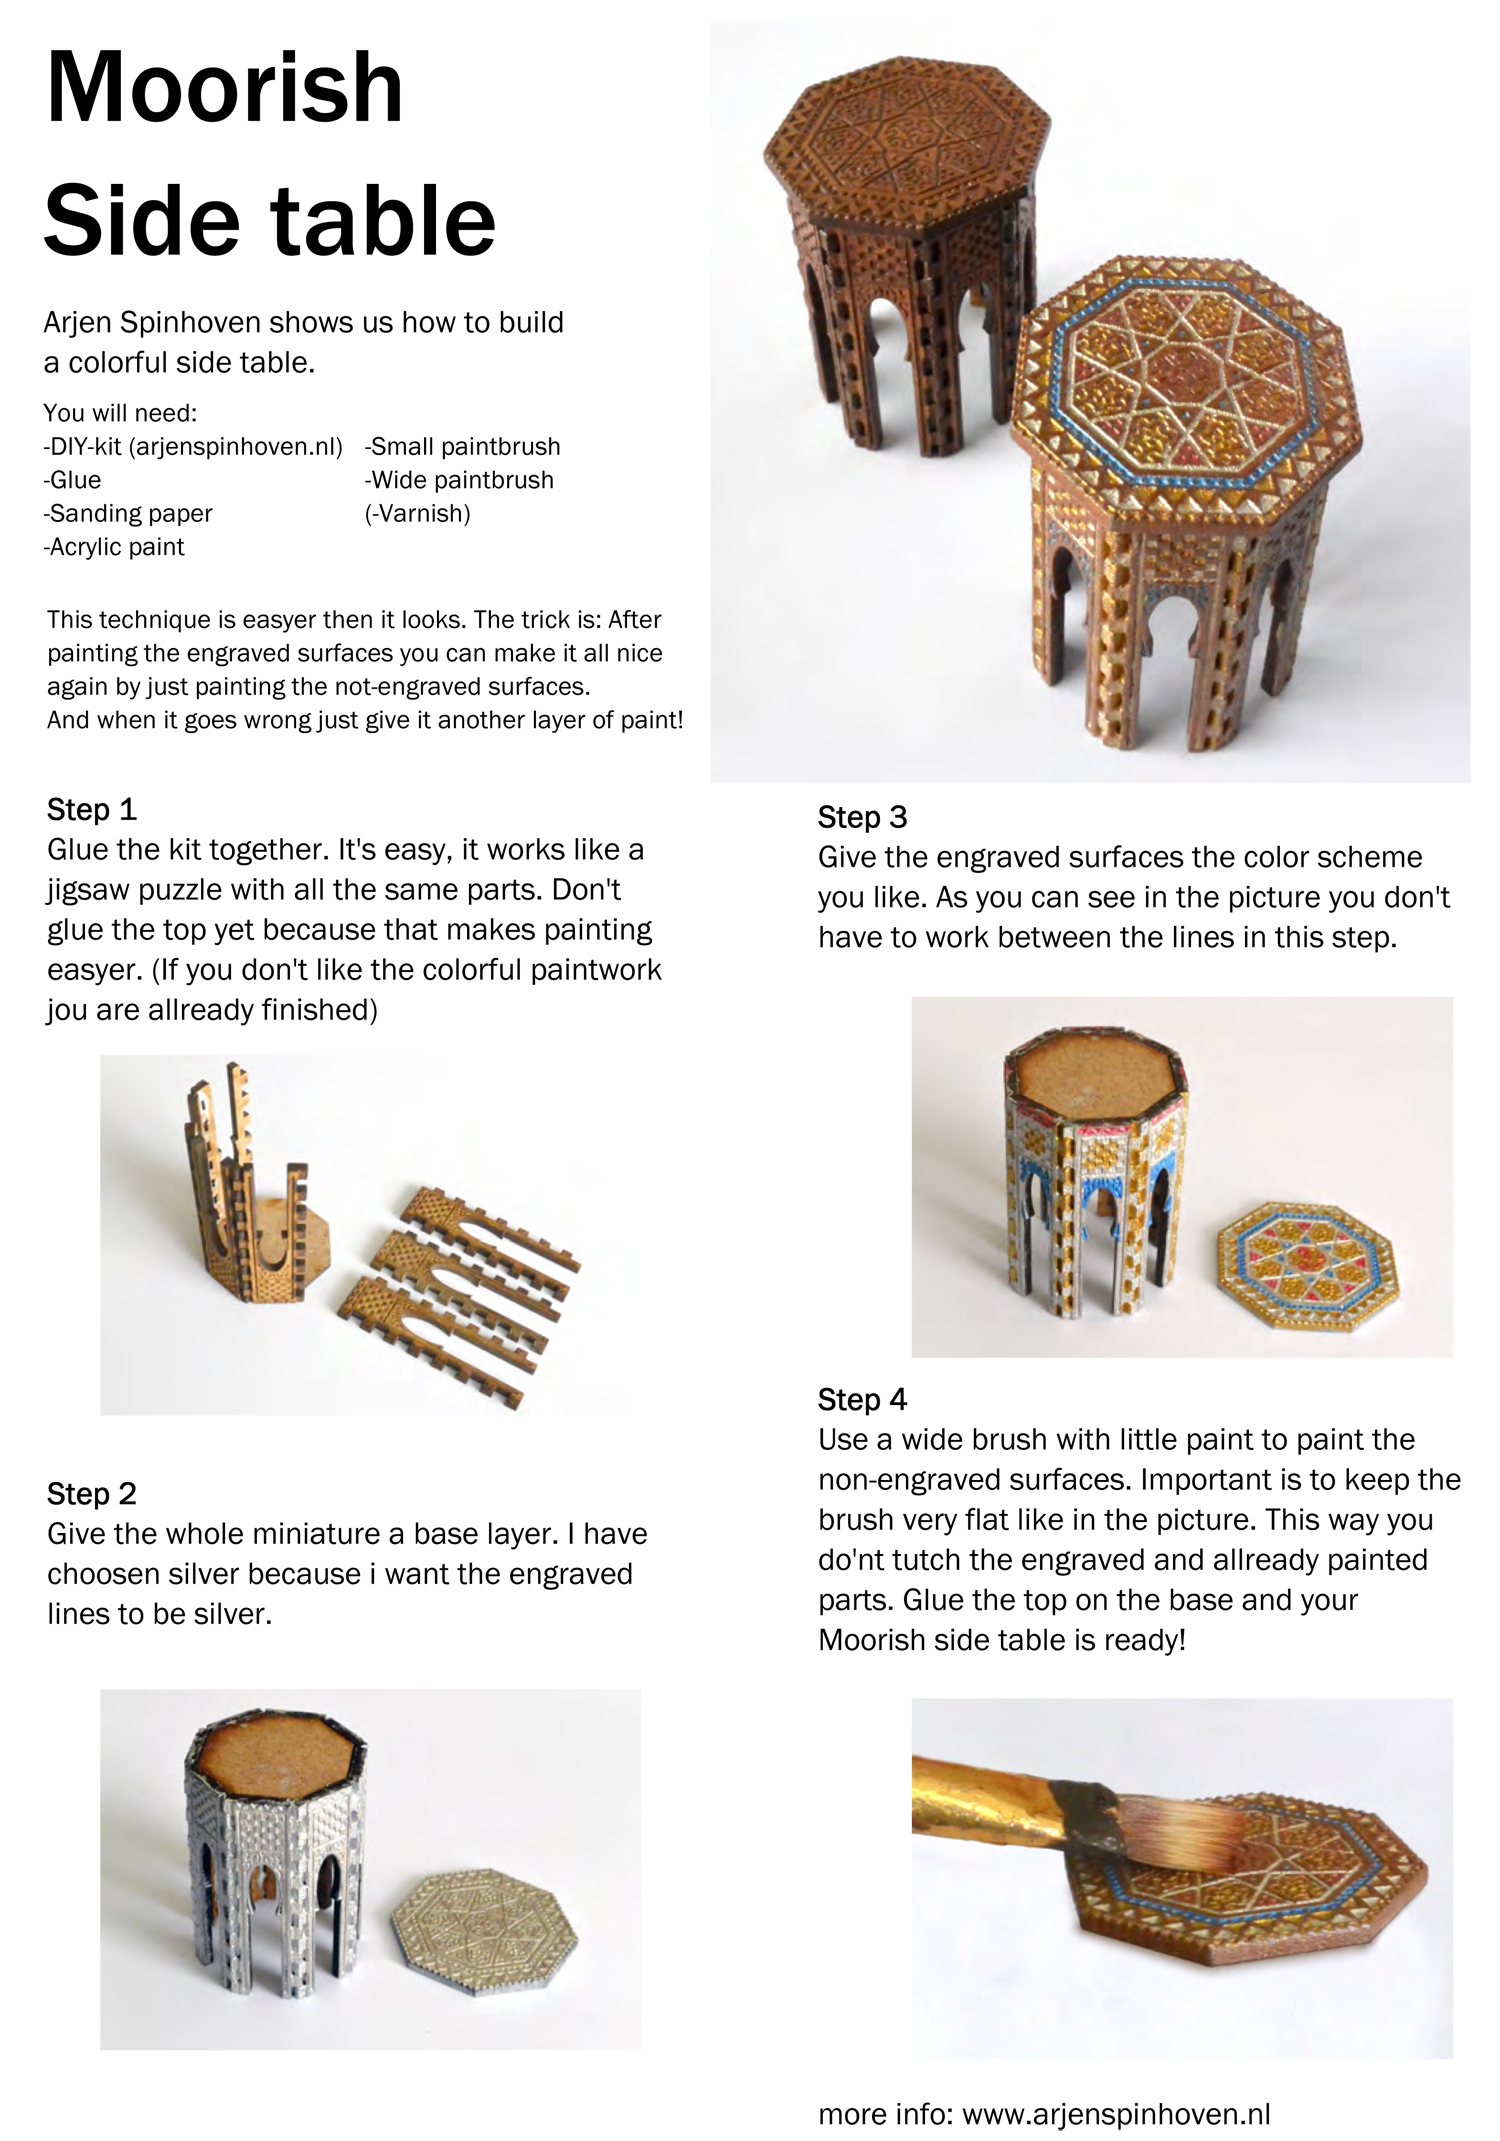
ENGRAVINGS: Paint first the sunken engravings. This does not have to be neatly within the lines. Let this dry and then sanding the surface smooth. Then use a broad brush for the surface (contrasting) paint. It is important that you keep the brush as flat as possible so that the paint does not touch the recessed engraving. (See Moorish side table below)